|
Article ID: 629
Last updated: 23 Nov, 2016
WIM FilesWindows Image File are used to store boot-up images (for example, images that run Windows Setup from CD or USB, or Network Boot), Windows PE (again, from CD, USB or Network boot) or entire operating system images. Example: Most bootable media - CD drives and USB drives - will contain a WIM file called BOOT.WIM in the Sources folder.
WIM files can be manipulated using systems such as MDT or WDS, to add drivers or distribute them out to clients. On occasion, it can be necessary to manually mount a WIM file to add drivers, or to inspect the contents. This article will cover the basics.
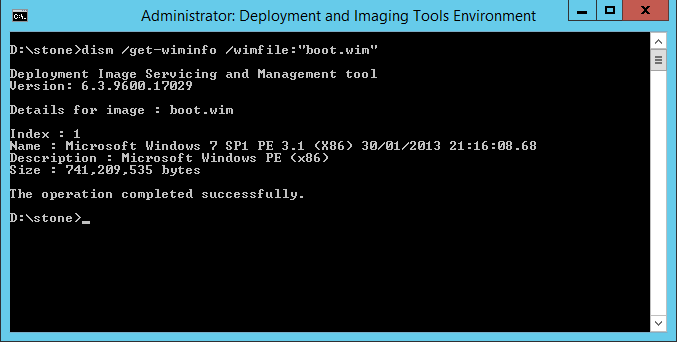
The Tools You NeedYou will need the Windows Assessment and Deployment Kit (ADK) to load images. For some image functions - for example, adding drivers, your ADK version must match, or be greater, than the version of the operating system contained inside the image. Sometimes the version of operating system you are running also matters. For example, the Windows 10 versions of the ADK are operating system specific. The 1511 version of the kit requires Windows 10, version 1511. Windows ADK Page here. Seeing What Images Are Contained Inside a WIM FileYou can do this without mounting, or extracting, the WIM file. Instructions:
dism /get-wiminfo /wimfile:"boot.wim"
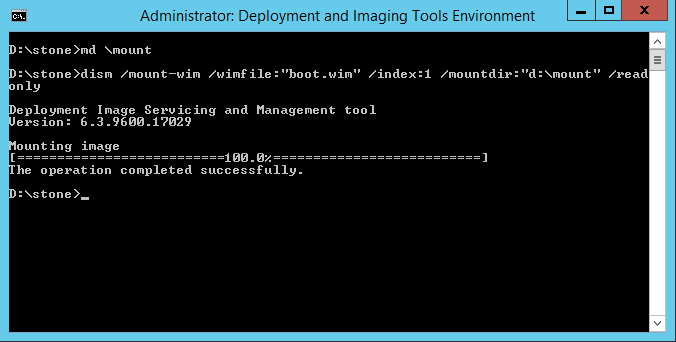
Mounting the WIM File
dism /mount-wim /wimfile:"boot.wim" /index:1 /mountdir:"d:\mount"
dism /mount-wim /wimfile:"boot.wim" /index:1 /mountdir:"d:\mount" /readonly
Adding Drivers to A Mounted ImageYou can add drivers to an image using the DISM command.
dism /Image:"d:\mount" /Add-Driver /Driver:"e:\drivers\video\mydriver.inf"
dism /Image:"d:\mount" /Add-Driver /Driver:"e:\drivers\video"
dism /Image:"d:\mount" /Add-Driver /Driver:"e:\drivers" /recurse Unmounting the FileWhen you are finished, the Image must be unmounted, even if you do not wish to save any changes.
dism /unmount-Wim /MountDir:"d:\mount" /discard
dism /unmount-Wim /MountDir:"d:\mount" /commit Applies to:
This article was:
Article ID: 629
Last updated: 23 Nov, 2016
Revision: 6
Access:
Public
Views: 53736
Posted: 21 Nov, 2016 by
Andrew Sharrad
Updated: 23 Nov, 2016 by
Andrew Sharrad
Also read
Also listed in
|