|
|
Cloned copy of Microsoft Windows Boots to a Black ScreenProblem
Cause
Instructions
bootfix f: -all
Applies to:
Multiple Uses of SysprepDuring an image build process, an image is created and customised before being Sysprepped ready for capture. Once captured, the image can then be deployed. It is recommended that if the image is revised, that you revert back to a copy of the image that was not Sysprepped ready for capture. However, sometimes this is not possible leading to an image going through the Sysprep process multiple times. Normally, you can only Sysprep a machine three times. After the third attempt, you will receive a fatal error message if you try to Sysprep the machine again. SolutionThere is a workaround solution for this that involves modifying the registry or creating an answer file. Please ensure that you test all images that you capture and deploy (all images should always be tested, but after using this workaround we recommend that you thoroughly check the entire image). Method 1 - Registry Edit For a machine running Windows 7, you will need to follow the steps below:-
You can now sysprep the machine as normal, for example: c:\windows\system\sysprep\sysprep /generalize /oobe /shutdown (and then press Enter). This will run Sysprep and shutdown the machine ready for capture. Method 2 - Using an Answer file An XML answer file can be used which includes the SKIPREAM command to allow the image to be Sysprepped again, even though it has reached the normal limit. If you wish to create your own answer file from scratch, you will need a technician machine with the Windows 7 Automatic Installation Kit (WAIK) tools installed. Once installed you can use the Windows System Image Manage which is included as part of the kit to create an answer file. A sample XML file is attached to this article. Extract skipream.xml from the ZIP file and copy it to a location accessible by Sysprep, for example c:\wsim. Then, run Sysprep and reference the XML file: sysprep /generalize /oobe /shutdown /unattend:c:\wsim\skiprearm.xml Note: These methods do not reset your windows activation grace period. They only increase the number of times you can run Sysprep on an image.
Applies to:
WIM FilesWindows Image File are used to store boot-up images (for example, images that run Windows Setup from CD or USB, or Network Boot), Windows PE (again, from CD, USB or Network boot) or entire operating system images. Example: Most bootable media - CD drives and USB drives - will contain a WIM file called BOOT.WIM in the Sources folder.
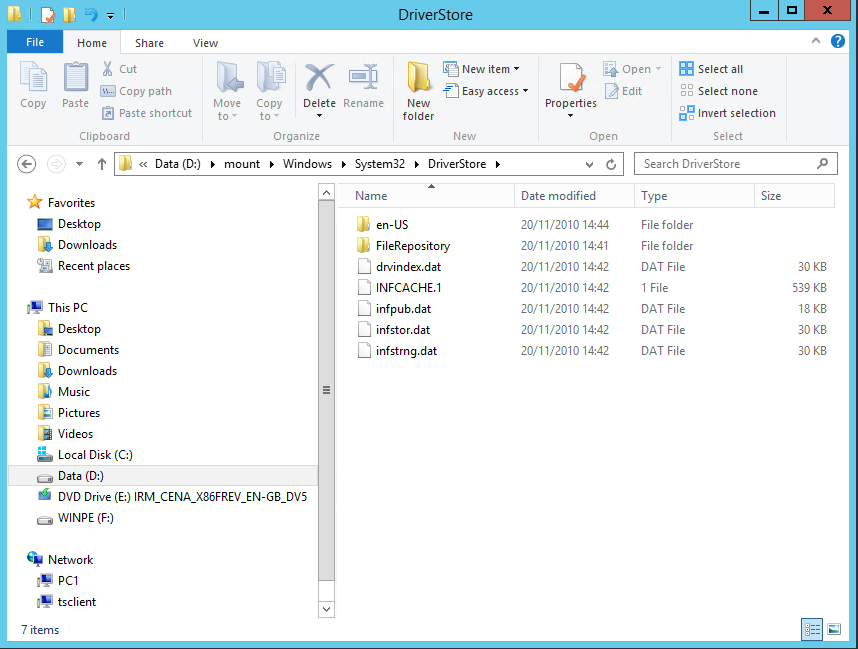
WIM files can be manipulated using systems such as MDT or WDS, to add drivers or distribute them out to clients. On occasion, it can be necessary to manually mount a WIM file to add drivers, or to inspect the contents. This article will cover the basics.
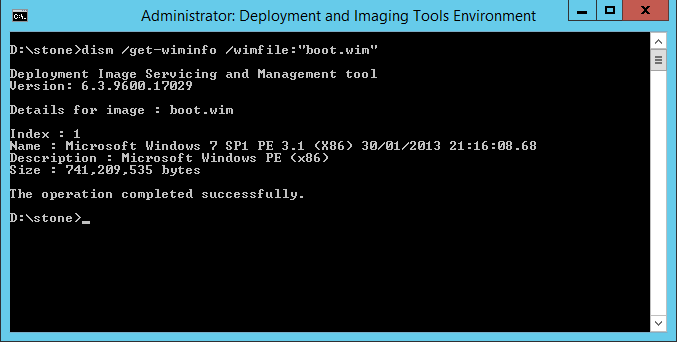
The Tools You NeedYou will need the Windows Assessment and Deployment Kit (ADK) to load images. For some image functions - for example, adding drivers, your ADK version must match, or be greater, than the version of the operating system contained inside the image. Sometimes the version of operating system you are running also matters. For example, the Windows 10 versions of the ADK are operating system specific. The 1511 version of the kit requires Windows 10, version 1511. Windows ADK Page here. Seeing What Images Are Contained Inside a WIM FileYou can do this without mounting, or extracting, the WIM file. Instructions:
dism /get-wiminfo /wimfile:"boot.wim"
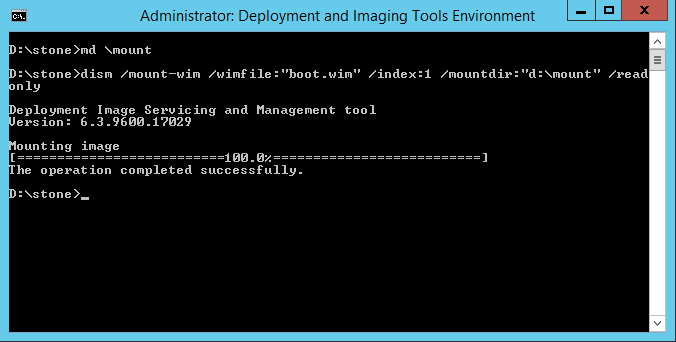
Mounting the WIM File
dism /mount-wim /wimfile:"boot.wim" /index:1 /mountdir:"d:\mount"
dism /mount-wim /wimfile:"boot.wim" /index:1 /mountdir:"d:\mount" /readonly
Adding Drivers to A Mounted ImageYou can add drivers to an image using the DISM command.
dism /Image:"d:\mount" /Add-Driver /Driver:"e:\drivers\video\mydriver.inf"
dism /Image:"d:\mount" /Add-Driver /Driver:"e:\drivers\video"
dism /Image:"d:\mount" /Add-Driver /Driver:"e:\drivers" /recurse Unmounting the FileWhen you are finished, the Image must be unmounted, even if you do not wish to save any changes.
dism /unmount-Wim /MountDir:"d:\mount" /discard
dism /unmount-Wim /MountDir:"d:\mount" /commit Applies to:
|


