Problem
Libraries are a feature of Windows 7 and later which allow multiple locations to be grouped together for the user to save or find documents.
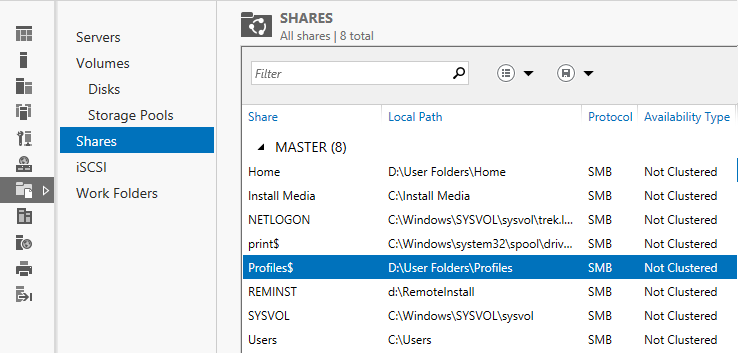
On a managed networks some of the default library locations allow users to save content to the local machine's C drive even when the Document folders have been redirected, and even when access to the local C drive has been hidden. The default library locations include the user's redirected document locations etc., and also the machines Public library locations such as C:\Users\Public.
Users could inadvertently save content to the local machine's C drive if either the network location becomes unavailable, or by selecting the incorrect library as the default save location. If the users then switches machine, the content they saved will become unavailable to them. Additionally, the content they saved may become available to other users.

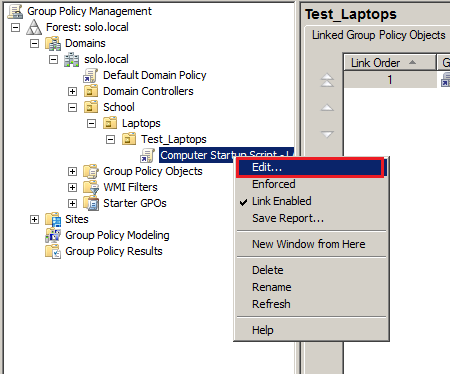
How to Remove Public Libraries
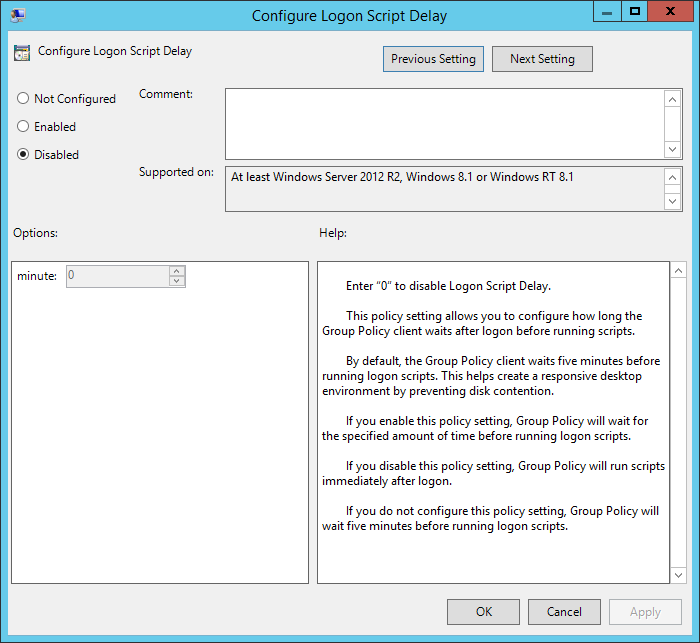
To prevent users from saving to Public library folders, some system administrators have used group policy registry hacks to turn off Windows 7 library features altogether. This is not recommended as Windows needs library features to use search and indexing properly, and also turning Public libraries back on after using this method is not easy.
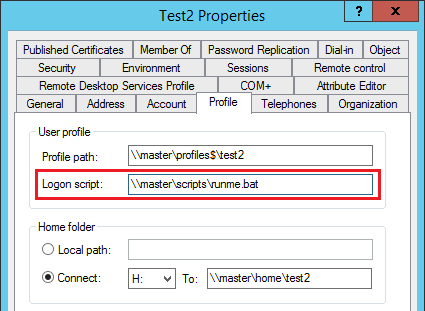
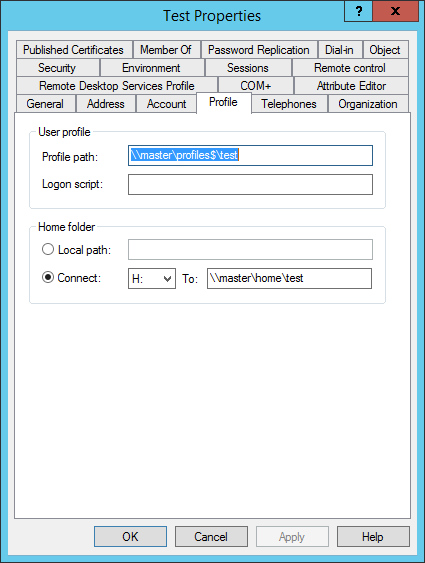
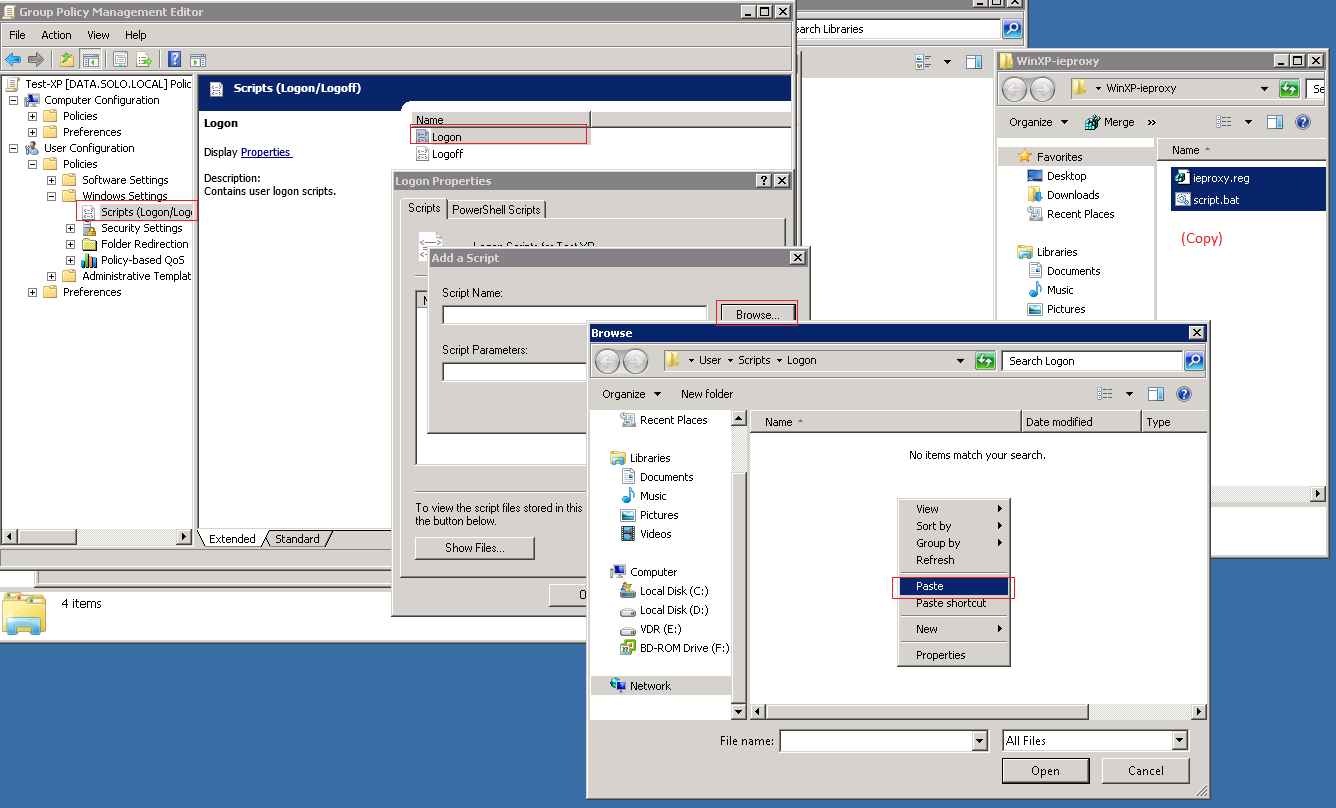
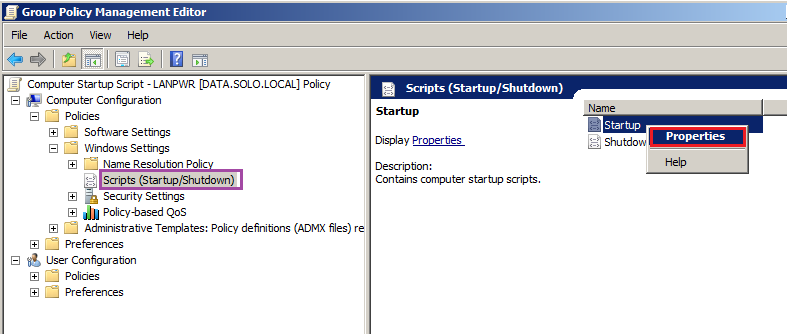
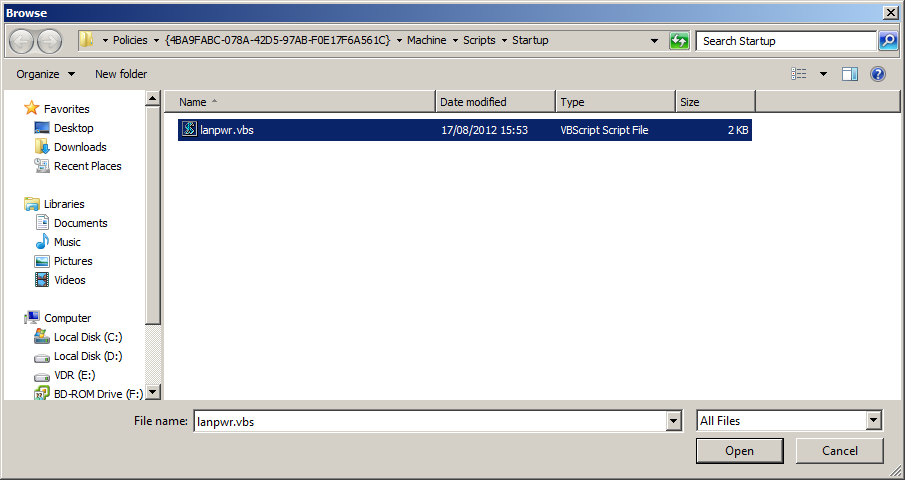
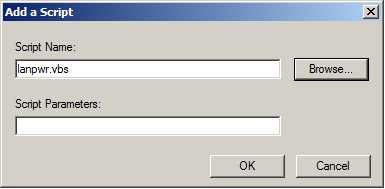
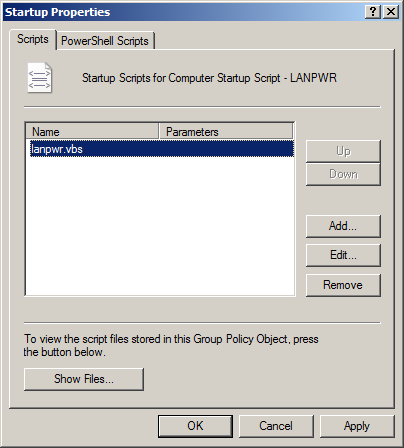
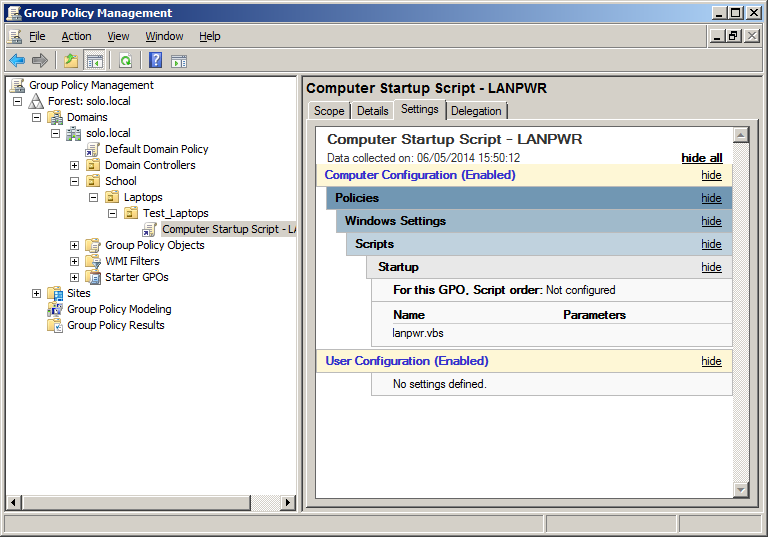
Instead, a better method is to use the Microsoft SHLIB utility to remove the Public library from the users profile, using a user login script deployed using group policy.
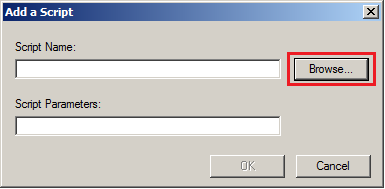
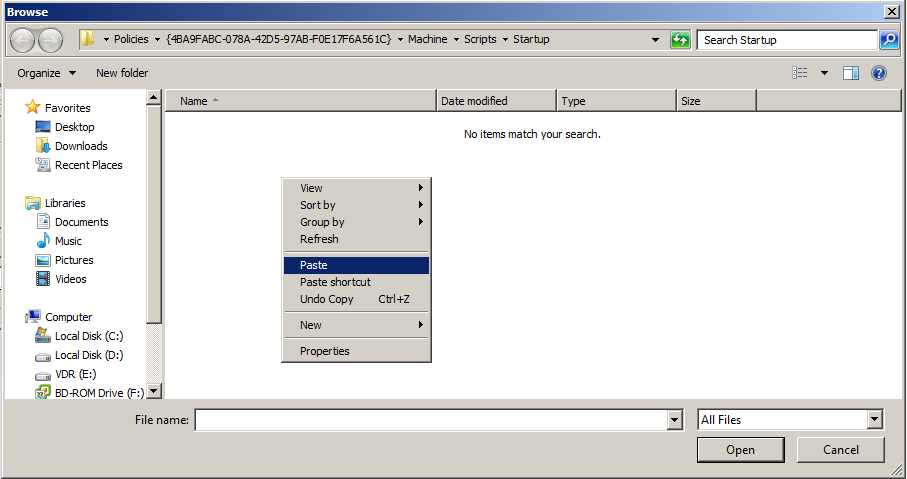
An example script is attached to this article; you will need to modify the batch file to show where you have placed a copy of SHLIB on the network.
The public library location may be available on the users first logon only, until the setting is removed from their profile. Subsequent logons shouldn’t have the public library locations.
The file is also available here.
Applies to:
- Desktop systems running Microsoft Windows 7 as part of a domain network.
.PNG)


.PNG)