New UEFI Firmware Features
The Stone Classmate 3 like many new tablets has been designed to provide the latest firmware features including:
- Rapid boot times (including support for Windows Fastboot).
- Support for Windows 8 secure boot.
- Support for other recent industry standards which include security, power management and compatibility.
- Support for Windows 8.1 x86 only.
This new firmware feature set is known as "UEFI" and it replaces the traditional BIOS code for configuring and booting a machine into the operating system.
The "BIOS setup" screen may look very similar to setup screens of previous models, but the BIOS code underneath is very different to models of just a few years ago.
As a Windows 8.x only unit, the Classmate 3 does not support legacy BIOS compatibility modes. This is a reflection upon the industry's drive to improve the usability and features of new systems, albeit at the cost of reducing legacy support.
What Does this Mean in Terms of Installing an Operating System?
This means that the operating system you want to install needs to support UEFI features, such as the GPT ("GUID Partition Table") method of disk partitioning. Windows 8.x supports this method. The older "master boot record" or MBR method of partitioning hard drives is not supported by the Classmate 3.
Note: This means that Windows 8.x images created in MBR mode cannot be used on the Classmate 3 until the boot loader has been reconfigured to use UEFI. Additionally, we always recommend the preparation of fresh software images for each model of machine you plan to deploy. For more information on this, please contact Stone support.
Installing Windows Again From Scratch
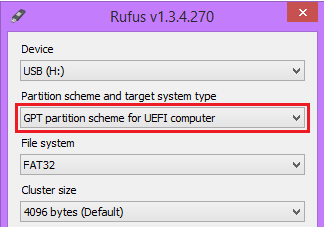
UEFI only support means that if you want to install a new, fresh copy of Windows 8.x, you must use an ISO to USB tool which can create the USB pen drive for use by UEFI systems, i.e. the disk formatting method is GPT.
One tool that can do this, for example, is Rufus.
What About Disk Imaging Software?
Methods of disk imaging also need to support the GPT partitioning method in order to boot. For example, if you have a Ghost 2.5.1 (11.5.1) bootable CD or pen drive based on Window Vista (Windows PE 2.0), this will not boot on the Classmate 3, as Windows Vista does not support GPT partitioning. You will not be able to actually boot from the CD or pen drive.
It is recommended on the Classmate 3 to use bootable media made using Windows 8.1, or Windows PE 5.0.
So How Can I Image the Classmate 3?
Stone can pre-install your choice of software image at our factory, saving you time in the deployment of your new equipment. If you are a network manager or technician you can also use the resources below to modify your existing imaging tools - where possible - to support UEFI systems such as the Classmate 3.
Alternatively, a potentially easier solution is to use tools within Windows 8 to create a Windows System Image onto an external hard disk. This will allow you to backup a system to be used as a master image and then restore the image onto other system.
A third party tutorial on this process is available here.
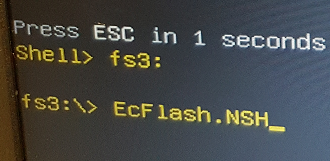
Tip: When working with the Classmate 3, use the F2 key to access BIOS setup by tapping the F2 key right from the moment you turn the unit on. Alternatively, use F11 to access the boot menu.
General Information on Modifying Existing Tools
The Classmate 3 does not have a wired LAN interface. This means that system images either need to be transferred using a USB pen drive or hard drive, or by using an optional USB3 to Gigabit LAN adapter (such as Stone part code CABUSB-224).
Ghost Solutions Suite 2.5.1 (11.5.1)
You will need to transfer your Ghost software to a Windows PE 5.0 environment. Please note however that Ghost 11.5.1 does not support disks larger than 2TB in size.
Short instructions:
(Advanced Users Only)
- Rework your Ghost media so that it runs off Windows PE 5.0 x86 (32-bit).
- Add the drivers for the Stone USB/LAN adapter into the boot image.
- Add the drivers for the Intel I/O Technologies (so that the Classmate 3 keyboard functions).
- Connect your Ghost Pen drive (based on Windows PE 5.0) to one of the available USB ports.
- Connect the USB/LAN adapter into the other available USB port (you will need the dock connected to have 2 USB ports in total available).
- Tap the F11 key from power on to go into the Boot Menu and boot from the USB HDD (the pen drive).
- (Alternatively, tap the DEL key from power on to go into the Setup Menu).
- Run Ghost as normal to upload or download images over the network.
- When you have deployed the image, you will then need to use the command prompt to run the BCDBOOT command to fix the boot loader. For example, from the driver letter of the destination, run bcdboot w:\windows /s: w: /f UEFI (where W is the drive letter of the destination)
Alternatively, if you are a licensed Ghost Solutions Suite 2.5.1 customer we can provide an ISO image containing an Windows PE 5.0 and Ghost 11.5.1, upon you providing details of your Ghost license. This can be used on a USB pen drive. However, this media is unsupported. Contact Stone Support for more details on how to obtain this ISO image.
SCCM / Microsoft Deployment Toolkit
We have provided a link below to a Windows PE 5.0 image which will allow you to execute an imaging script over the network through the use of a mapped drive.
Method 1 - Use MDT WinPE Images - Short Instructions
(Advanced Users Only)
- Modify your x86 Windows PE 5.0 generated boot images to include driver support for the USB/LAN adapter.
- Also add the drivers for the Intel I/O Technologies (so that the Classmate 3 keyboard functions).
- You will then need to transfer the boot image to a USB pen drive, or use PXE Boot:
- PXE Boot is only available to PXE Servers which support EFI and X86 clients. This excludes Windows Server 2008R2 but includes Windows Server 2012 (for more information see here).
- To support x86 PXE boot, you will need to use a supported USB/LAN adapter such as CABUSB-224, which is a USB3 / Gigabit model (USB\VID_0B95&PID_1790). NOTACC-402 is not supported by the Classmate 3 for PXE Boot.
- The Classmate 3 needs to be running BIOS 1.04 or later to support PXE Boot on the CABUSB-224.
- Your Windows 2012 WDS server will need to have a Windows x86 boot image configured (x86uefi).
- You will likely need to convert the boot image to an ISO file and then deploy the ISO file to a USB pen drive using a program such as Rufus or ISO2USB.
Note: Depending on your imaging system, converting the WIM file to USB is not an easy process. See this third party tutorial for more information regarding MDT, or here for WDS.
- Boot the Classmate 3 from the pen drive with the USB/LAN adapter also connected.
Method 2 - Use Stone PE Boot Media and a Network Drive - Short Instructions
- On a system used for IT administration (for example, not the Classmate 3 itself) download the package which contains the image and the image writing program.
- Extract the package.
- Attach a blank USB pen drive of at least 2GB in size to the system.
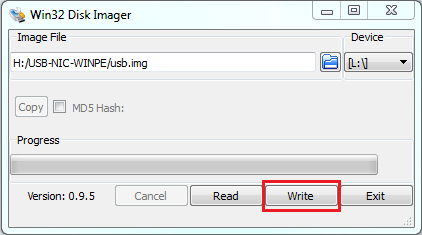
- Install the imaging program and then run it.
- Select the .IMG file and the drive letter of the USB pen drive.
- Click the Write button to write the image to the pen drive.
- Take the completed pen drive to the Classmate 3 and plug it in.
- Connect the USB/LAN adapter into the other available USB port (you will need the dock connected to have 2 USB ports in total available).
- Tap the F11 key from power on to go into the Boot Menu and boot from the USB HDD (the pen drive).
- (Alternatively, tap the DEL key from power on to go into the Setup Menu).
- When the pen drive has booted, you will get two programs:
- A Command Prompt – use this to run tools such as DISM.
- PE Network Manager – use the Network drives tab to map a network drive to a drive letter.
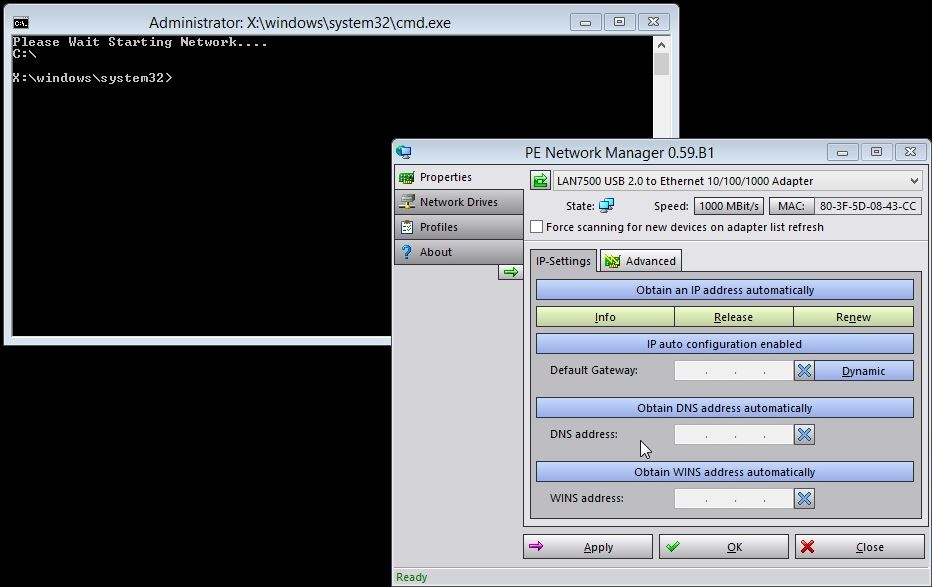
- To map the network drive you will need:
- To select a drive letter, such as M:
- The path to the network share in the form \\server\sharename
- Username: <username to access the share>
- Password: <password for the above user>
- Once you have mapped a network drive, use the command prompt to start your deployment script.
Windows Deployment Services (WDS)
Method 1 - Use Modified Boot or Install Images - Short Instructions
(Advanced Users Only)
- Ensure you are using x86 Windows PE 5.0 boot or install images in your WDS environment.
- Add the drivers for the Stone USB/LAN Adapter
- Add the drivers for the Intel I/O Technologies (so that the Classmate 3 keyboard functions)
- Connect the USB/LAN Adapter to the USB3.0 port on the Classmate 3.
- You will then need to transfer the boot image WIM file to a USB pen drive, and boot the Classmate 3 from the pen drive, or use PXE boot.
- PXE Boot is only available to PXE Servers which support EFI and X86 clients. This excludes Windows Server 2008R2 but includes Windows Server 2012 (for more information see here).
- To support x86 PXE boot, you will need to use a supported USB/LAN adapter such as CABUSB-224, which is a USB3 / Gigabit model. NOTACC-402 is not supported by the Classmate 3 for PXE Boot.
- The Classmate 3 needs to be running BIOS 1.04 or later to support PXE Boot on the CABUSB-224.
- Your Windows 2012 WDS server will need to have a Windows x86 boot image configured (x86uefi).
Note: Depending on your imaging system, converting the WIM file to USB is not an easy process. See this third party tutorial for more information regarding MDT, or here for WDS.
The driver packages below cover:
- NOTAC-402 USB2 to 10/100 LAN adapter - does not support PXE Boot on the Classmate 3.
- CABUSB-224 USB3 to Gigabit LAN Adapter (Startech USB3) - supports PXE Boot on the Classmate 3 when the Classmate 3 has BIOS 1.04 or later installed.
Windows 8.1 / PE 5.0 x86 (32-bit)
Windows 8.1 / PE 5.0 x64 (64-bit) (please note that the Classmate 3 does not support x64)
These are only available for x86 / 32-bit Windows 8.1.
Applies to:
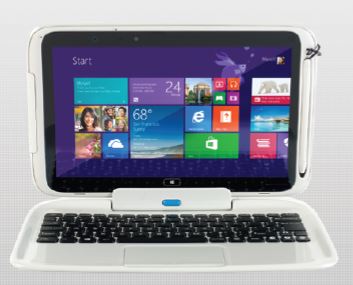
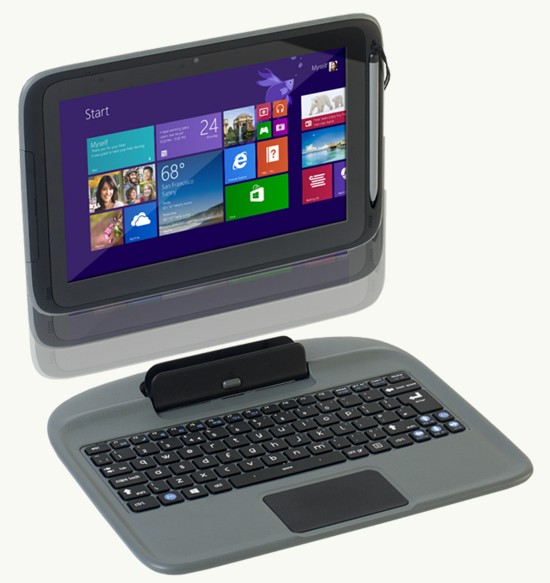
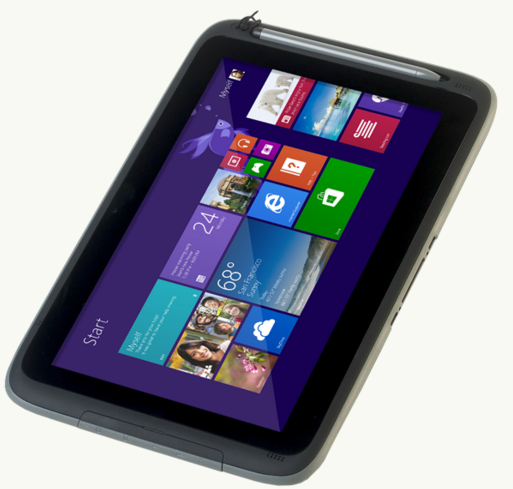
- Stone Classmate 3 (NOTCHA-263 and NOTCHA-264)

.JPG)
.JPG)
.JPG)
.PNG)

.PNG)