Setting the Boot Virtual Drive (VD)
Hardware RAID cards support multiple virtual drives. For example, you may have a RAID 1 volume for the operating system, and a RAID 6 volume for your data. These will likely be identified as virtual drives VD0 and VD1. In a similar way that the main motherboard BIOS can be set to boot from different devices - including the RAID controller - the RAID controller itself can be set to boot from different virtual drives.
If you have moved or recovered a virtual drive, you may need to configure the controller to boot from the correct drive. An indication that this is require is if the RAID card is seemingly ignored in the boot order, or if you get a BIOS message about an invalid boot device, or an invalid boot loader.
The instructions vary depending on whether or not you have a 3G or 6G controller, or one of the new 12G controllers.
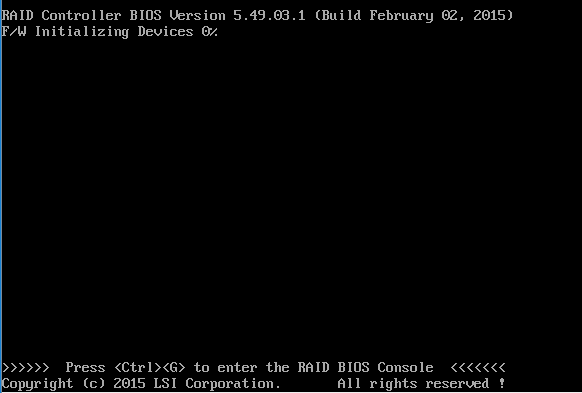
- Boot the system into the RAID BIOS by Pressing CTRL + G when prompted.
- After the system has detected the drives, the RAID BIOS will start. You will be prompted to confirm which controller you want to access.

- Press Enter or click on Start.
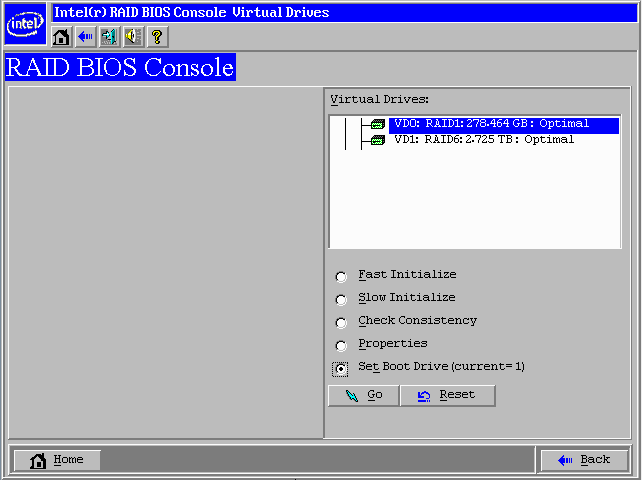
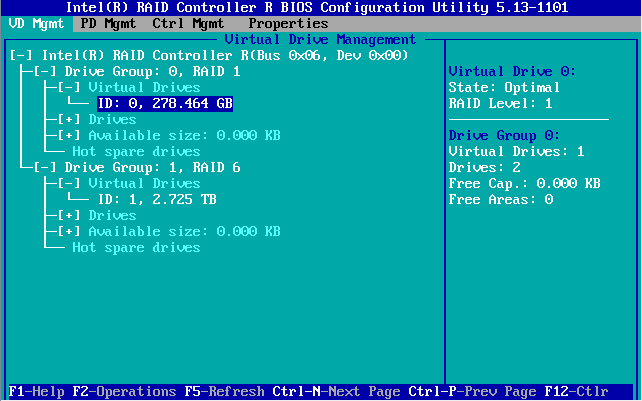
- Note the IDs and sizes of the virtual drives - for example, ID: 0 - 278GB, ID: 1 - 2.725TB. Usually an operating system is installed on the smaller RAID 1 volume.
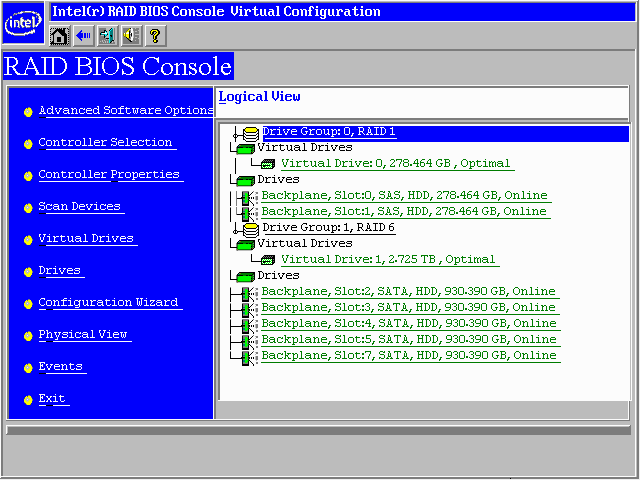
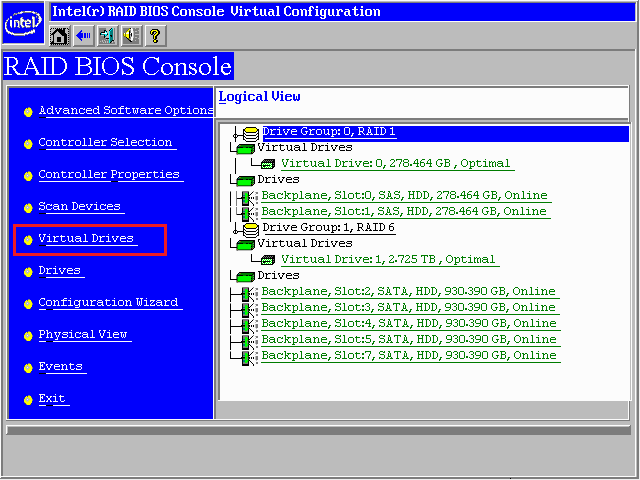
- Click on Virtual Drives on the left hand side.
- You will now be presented with a list of virtual drives and can now set the boot drive.
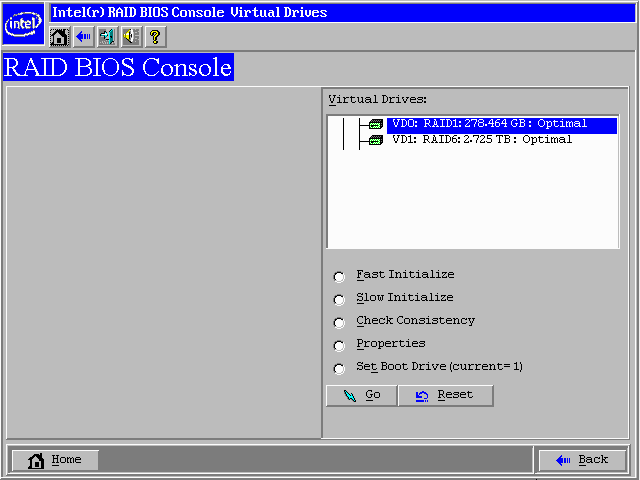
- Highlight the VD you want to boot from. On most systems, this is the smaller drive used for the operating system.
- Then select Set Boot Drive, then click on Go.
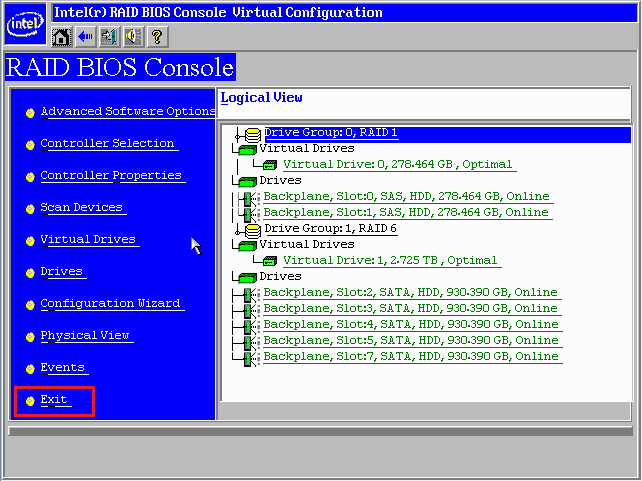
- You will be returned to the same screen. Note that the system has accepted the change in boot VD. Click Home to exit making changes to Virtual Drives.

- In the main view, click on Exit.
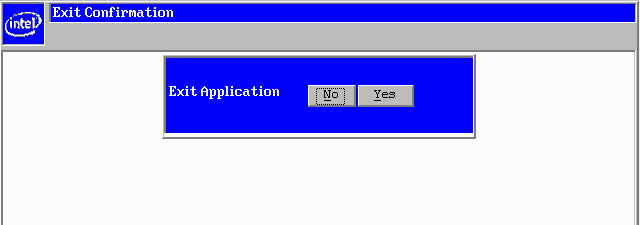
- Select Yes to exit the RAID BIOS.
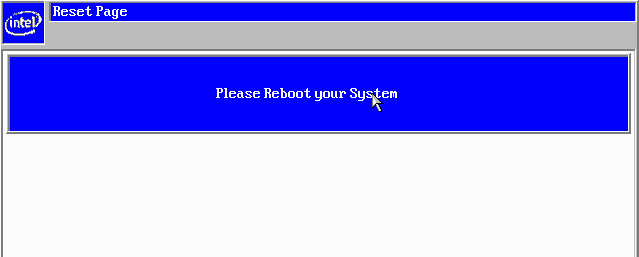
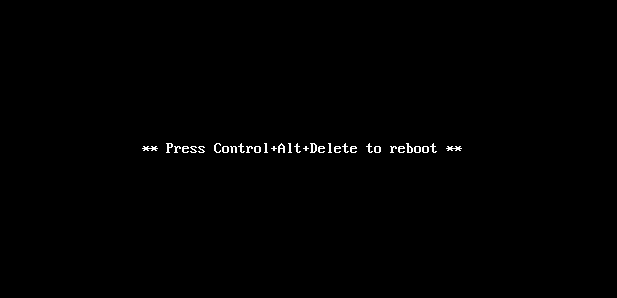
- Reboot the system using CTRL+ALT+Delete or the reset button when prompted.
- Boot the system into the RAID BIOS by Pressing CTRL + A when prompted.
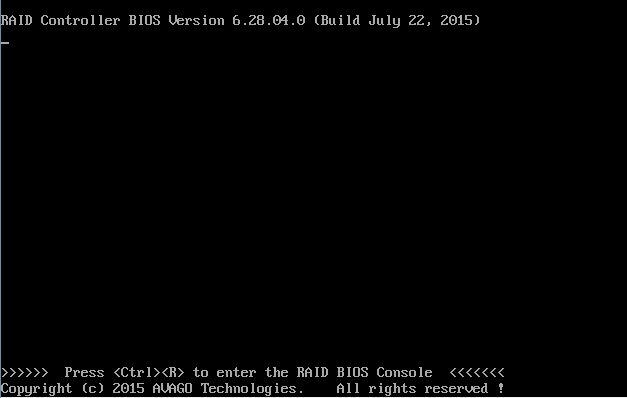
- After the system has detected the drives, the RAID BIOS will start.
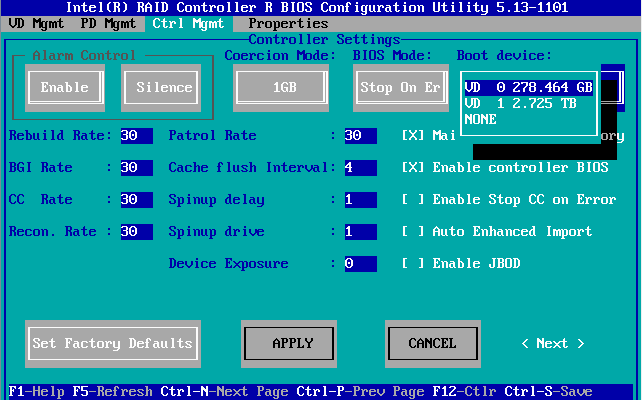
- Note the IDs and sizes of the virtual drives - for example, ID: 0 - 278GB, ID: 1 - 2.725TB. Usually an operating system is installed on the smaller RAID 1 volume.
- Press CTRL+N twice to go to the Ctrl Mgmt tab.
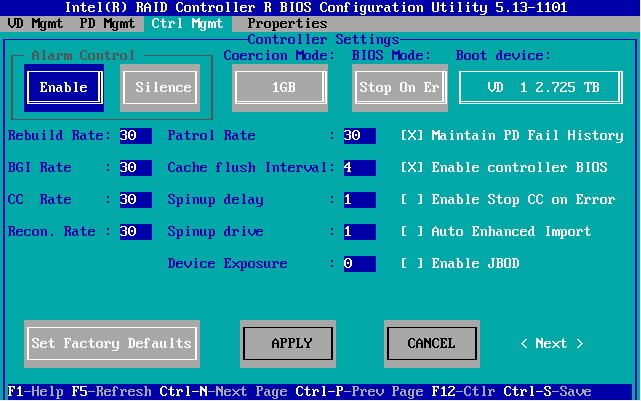
- Use the TAB key to highlight Boot Device.
- Press Enter to get the list of VDs available for booting.
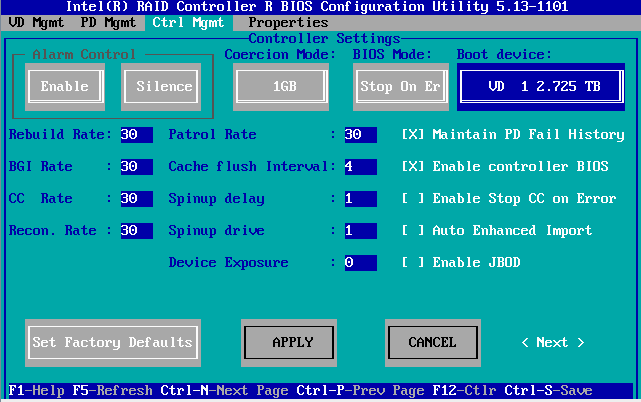
- Highlight the VD you want to boot from. On most systems, this is the smaller drive used for the operating system.
- Now use the TAB key again to go through all of the options on the page, until APPLY is highlighted. Press Enter on APPLY.
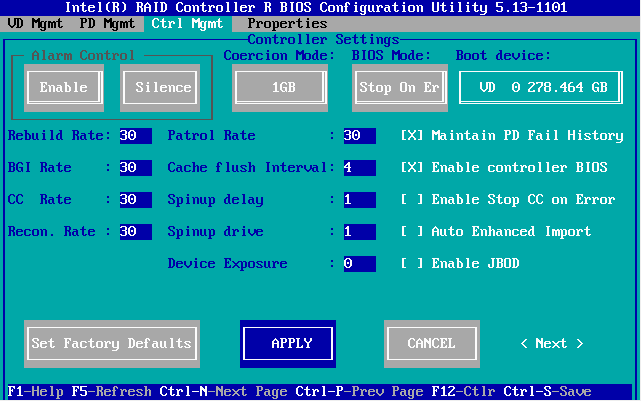
- Once the setting has been applied, the screen will simply highlight the first option on the page again. There is no other confirmation that the settting has been saved.
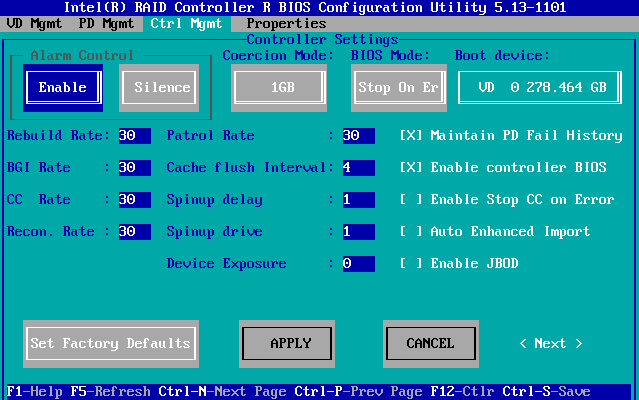
- You can now safely exit the RAID BIOS by pressing ESC and then pressing Enter whilst OK is highlighted.
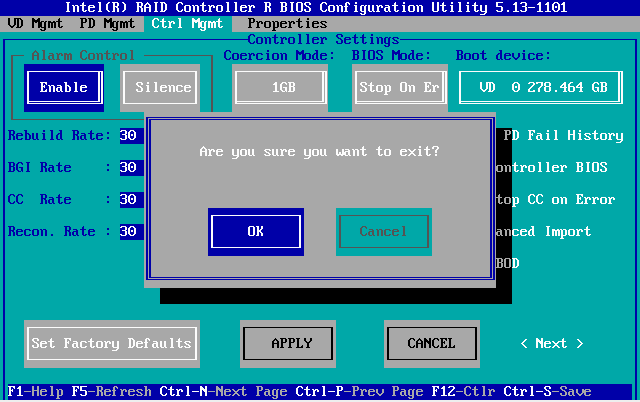
- Then reboot by using CTRL + ALT + Delete when prompted.
Tip: When you have made any RAID BIOS changes, if your system still does not boot the operating system please re-check the made system BIOS device boot order.
Applies to:
- Intel 12G Hardware RAID Controllers or modules, including RMT3PB080 (ISRRAI-160), RS3DC080 (ISRRAI-167), RMS3CC040 (ISRRAI-171), RMS3CC080 (ISRRAI-172), RS3DC040 (ISRRAI-174) and RS3DC080 (ISRRAI-175).
- Intel 6G Hardware RAID Controllers or modules, including Intel RAID Card RS2BL040 (ISRRAI-139), Intel RAID Card RS2BL080 (ISRRAI-129), RS2BL080D (ISRRAI-134), Intel RAID RMS25CB080 (ISRRAI-151)
